
Google Sheets timestamp feature helps us to identify when a particular activity is executed on the sheet. This feature will be of great help when multiple members are working on the same Google Sheets. In this article, let’s understand how the Timestamp functions are used along with important Google Sheet tips. Read on to find out more.
Table of Contents |
Keyboard Shortcuts to Insert the Timestamp in Google Sheets
Keyboard shortcuts are one of the easiest ways to insert the Timestamp in Google Sheets. Steps to insert the timestamp in Google Sheet with the help of Keyboard shortcuts are explained below:
- Control +: – hold a Control key and press the column key to insert the current date.
- Control + Shift +: – hold down Control & Shift keys and press the colon key. Implements the current time.
Please note that these shortcuts will include a static date and time value. This means that these date/time values will not change if you make changes to the worksheet, or close and open it.
To combine date and time values, you can use the two keyboard shortcuts first to insert the date and time and then simply add the cells (as shown below).

Insert Date and Time using Functions
You can insert date and time quickly in Google Sheets with a few formulae.
Use the following formula to insert the current date:
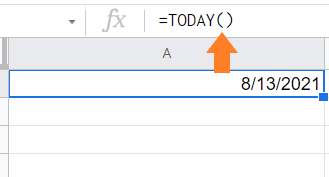
- Step 1: Select the cell.
- Step 2: Enter the formula “ =TODAY()“.
- Step 3: Press the “Enter” button. The results will be displayed on the screen.
To insert the current date and time, follow the steps as listed below:
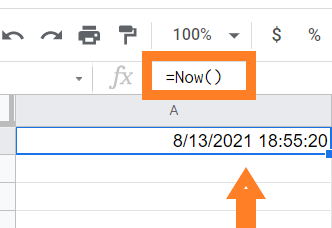
- Step 1: Select the cell where you would like to insert the current date and time.
- Step 2: Now type the formula as =”Now()“.
- Step 3: Just press the “Enter” button and the results will be displayed on the screen.
Note that these formulas are volatile, meaning that when a cell in the Google Sheets document is changed, the formulae will be recalculated and updated.
Therefore, the formula will update to show you the current date if you use TODAY in your cell and open the Google Sheet document the morning afterward.
- How to Insert Bullets in Google Sheets: Adding Bullets in MAC, IOS, Android
- How to Strikethrough in Google Sheets: 3 Easy Shortcut Methods
- How To Insert Indents in Google Sheets? – Know How to Tab Down in Google Sheets
You can convert the formula to value if you want them to be static values. In addition, a result is a number. You can format the result and display it in various formats. For example in the case, if you have a date of 01-01-2020, some formats can be shown below:
- 01 January 2020
- January 01, 2020
- 01/01/2020
- 01 Jan 2020
You can also view it in AM/PM or 12/24-hour format with time.
Insert the Timestamp Automatically Using Script
Although both these methods (keyboard shortcuts and formulas) work fine, they will not insert the timeline for you automatically.
For instance, suppose you have an activity tracking dataset, and want to add a timing when an activity is added to a celled activity. This can be done in Google Sheets with a simple script.
The following steps are used to add a script to Google Sheets to automatically add timestamps:
- Step 1: Move the cell where you would like to insert the Timestamp.
- Step 2: Click on the “Tools” option.
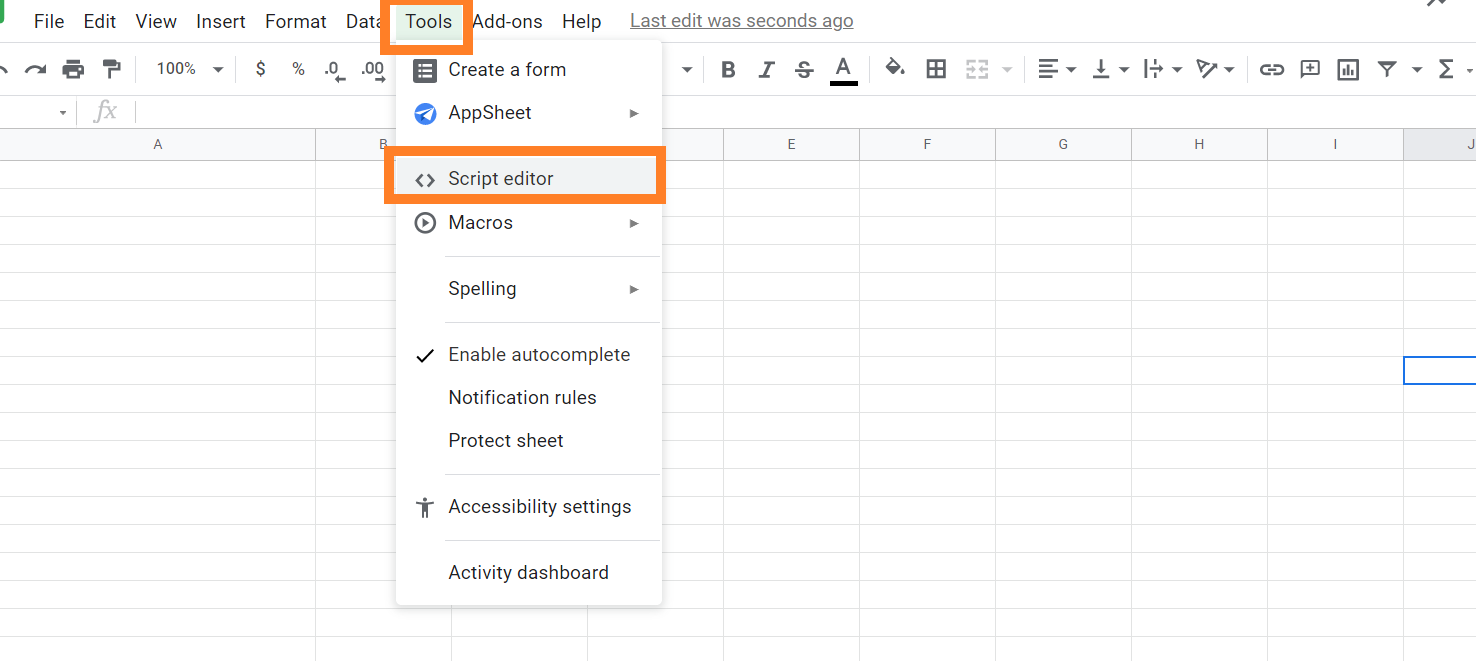
- Step 3: Now select Script editor from the drop-down menu.
- Step 4: Script editor will open on the Google Sheets now. Just copy and paste the code given below.
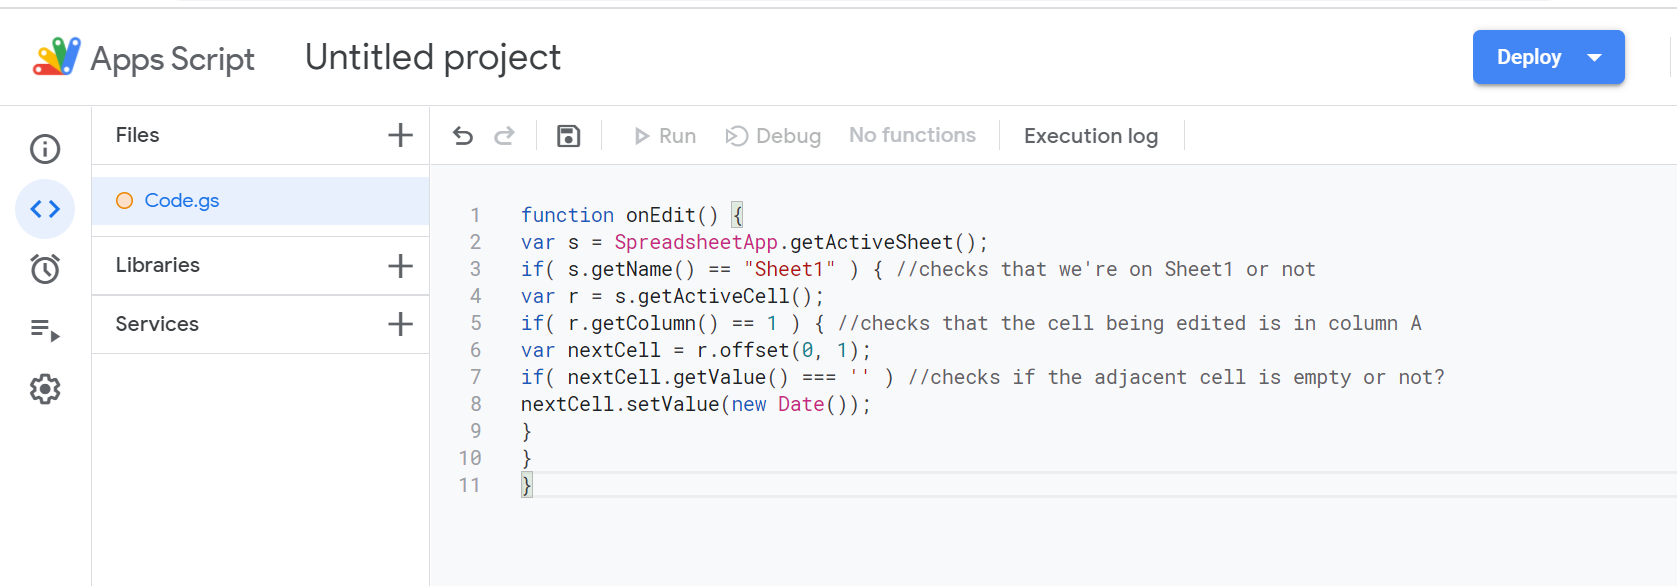
- Step 5: Click on “Save” to save code. You will see the results.
Code to be pasted on Google Sheeet Script Editor:
function onEdit() {
var s = SpreadsheetApp.getActiveSheet();
if( s.getName() == “Sheet1” ) { //checks that we’re on Sheet1 or not
var r = s.getActiveCell();
if( r.getColumn() == 1 ) { //checks that the cell being edited is in column A
var nextCell = r.offset(0, 1);
if( nextCell.getValue() === ” ) //checks if the adjacent cell is empty or not?
nextCell.setValue(new Date());
}
}
}
Code source – Stackoverflow