
Google Sheet Text Wrap: The main advantage of Google sheets is to store a large amount of data. However, when you are entering the long-form text such as an address, names or other details, the text entered in the particular cell will extend or overflow outside the cell. To format the extended text outside the cell, we need to use the Wrap function on the google sheets. On this page let’s understand how to overcome Google sheets text overflow with the help of the Wrap function along with important Google Sheets Tips. Read on to find out more.
How to Wrap Text in Google Sheets?
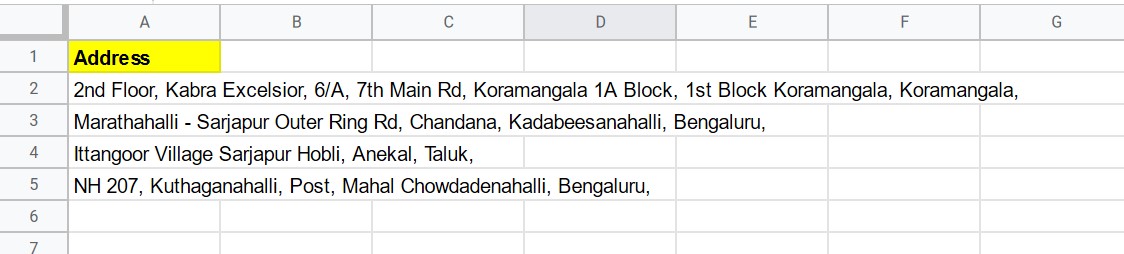
Let’s understand how to wrap text in Google sheets with an example. In the following dataset, the address entered has been extended outside the cell.
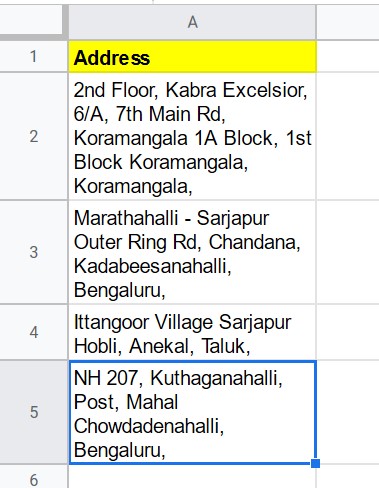
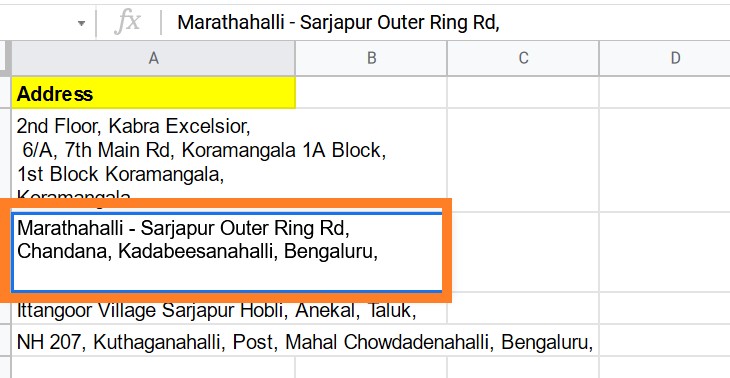
Now we should be wrapping the text in the cells so that it doesn’t overflow into other cells is the proper way to go (something as shown below).
Now let’s understand how to do it in the correct way in Google Sheets by the step-by-step procedure.
- How to Count Cells If Not Blank in Google Sheets
- How to Quickly Transpose Data in Google Sheets: TRANSPOSE, Paste Special Method
- How to Extract the Year from Google Sheets-YEAR Function in Google Sheets
How to Wrap Text in Google Sheet Automatically?
Follow the steps as listed below to text warp in Google sheets:
- Step 1: Select the cells that you want to wrap.
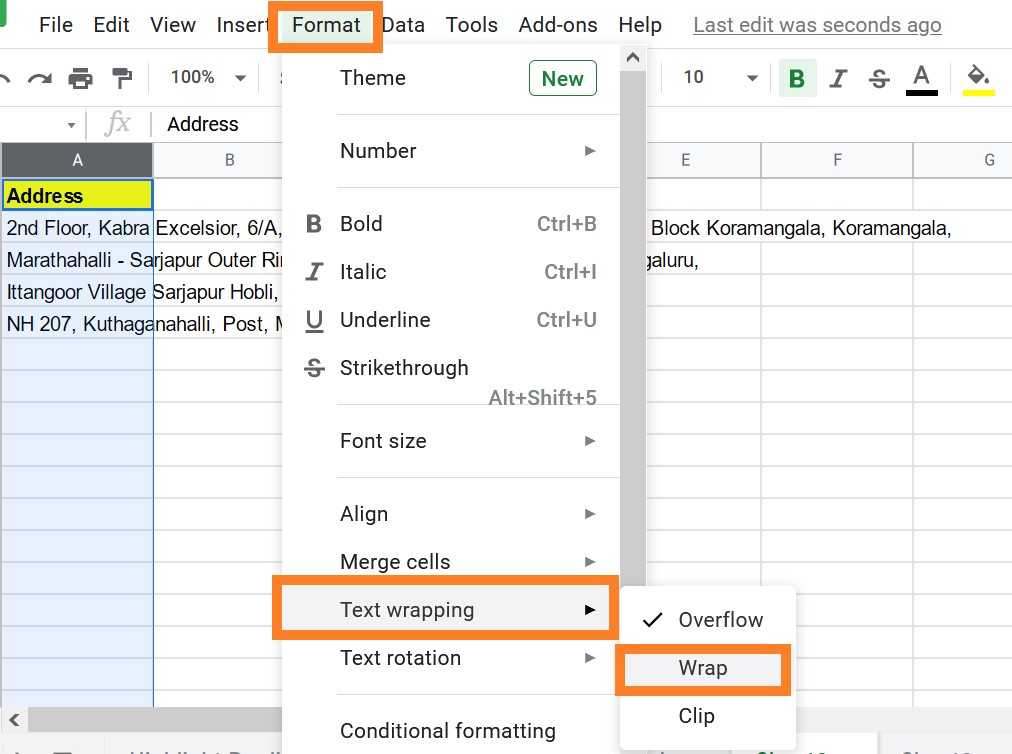
- Step 2: Click on the “Format” option in the menu bar.
- Step 3: Go to the “Text Wrapping” Section.
- Step 4: Click on “Wrap” from the drop-down menu.
The above steps will instantly wrap the texts as shown below.
What is the Shortcut for Wrap Text in Google Sheets?
The shortcut to wrap the text in Google sheets are listed below:
- Step 1: Select the cells which need to be wrapped.
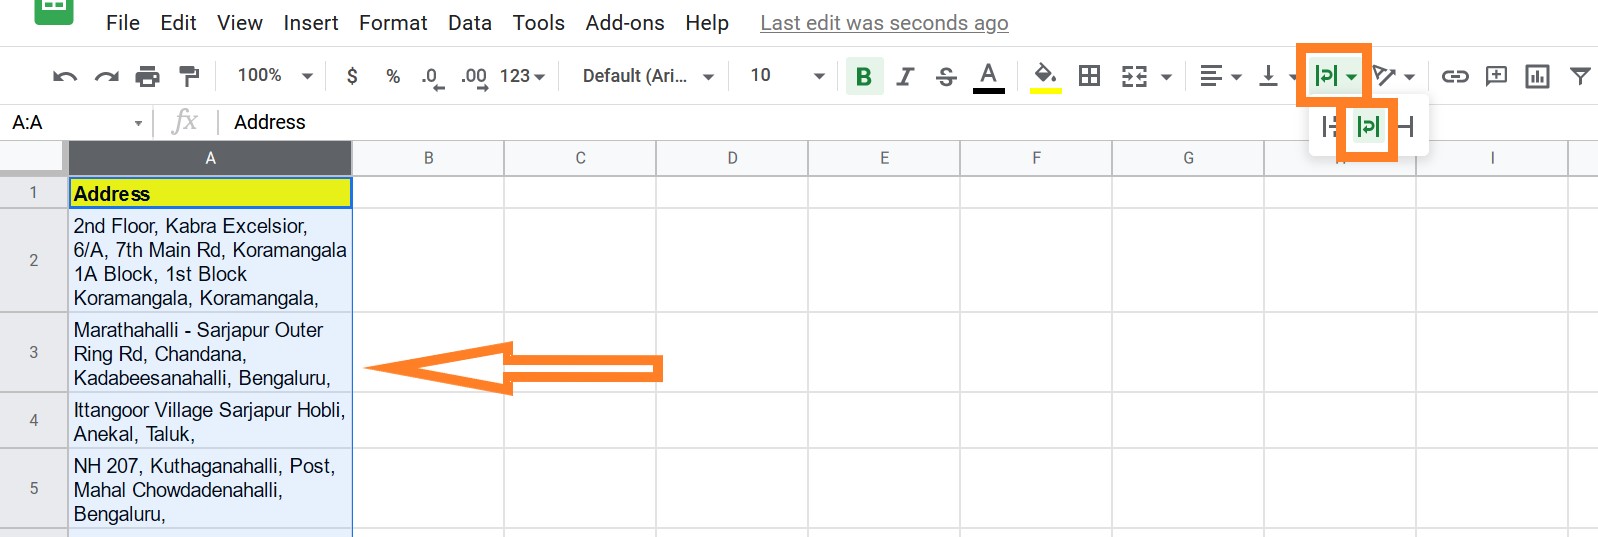
- Step 2: Click on the “Text Wrapping” icon which is under the menu bar as shown in the image below.
- Step 3: The selected cells will be automatically wrapped as shown in the image below.
How does Google Sheet decide to Wrap Text?
Google sheet decides to wrap the text based on the column’s width. When the Text Wrap option is selected, the G-Sheet tries to fit the entered text into the same cell as the column width allows. If your column width is large enough, Google Sheets will fit all of the content on a single line.
However, if the column width of your Google sheet is smaller, then it will fit the content of the cell, by preventing the overflow of text. This means that it wraps the text into multiple lines within the same cell.
Also one of the best features of Google sheets will automatically modify the height of the cell to suit the content when the text is wrapped. So make sure the column width is big enough to wrap the text inside it.
How to Add Text Wrap Manually?
You may not want to wrap text based on column width in some circumstances, but rather want to be able to select where the text should be wrapped. For example, in the following example, you want each part of the address such as House No, Street No, City, State and PIN code in separate lines.
When you use the Google Sheets built-in wrap text function, it wraps the texts based on the column width. Here you have an option where you can define where the line should break manually by following the steps listed below:
- Step 1: Select the cell, where you have to wrap the text by applying the line breaks.
- Step 2: Press F2 or double click the cell. Now you can edit the cell and change the content of the cell.
- Step 3: Move the cursor where you have to apply the line break.
- Step 4: Now press “Enter” by holding the ALT key.
Text Wrap not Working in Google Sheets
One of the main reasons for Google sheets, Text Wrap not working is due to the column width. When your column is too broad for the spreadsheet to wrap the text, the text wrapping will not work as planned. This applies even if you have applied the “Text Wrap” function automatically.
If the text in the cell is longer than the cell itself, Google Sheets will wrap it. As a result, after applying “Wrap,” make sure the column is narrow enough for the text to require a new line.
Solution: Try narrowing the column that includes the content to be wrapped to force excess text onto a new line if you attempted enlarging your columns before determining the requirement for wrapping text.