
Google Spreadsheets software comes with default row and column size. However, this default row and column size won’t help if your text length is longer than the row and column size. Thus to overcome this problem, Google Sheets allows you to change the row and column size. There are multiple ways to resize rows and columns in Google Sheets which we will discuss on this page with the help of Google Sheet tips. Read further to find more.
Table of Contents |
Manually Resizing Rows and Columns in Google Sheets
One of the quickest ways to resize the rows and columns in Google Sheets is manual. The steps to change the rows and columns size manually are as follows:
- Step 1: Open the Google Spreadsheet where you want to resize the rows and columns.
- Step 2: Now, hover the cursor over the column header to resize the column. To resize the row, move to the row header.
- Step 3: Start dragging the border to the new position. While dragging the border you will see the blue line moving.
- Step 4: Stop the cursor once you reach the desired size. This will resize the desired row or columns in the Google Sheets.
Manually Resizing Multiple Rows and Columns
You can also resize multiple columns and rows in Google Sheets at one go. To do this, you will have to follow the steps listed below simply:
- Step 1: Select the desired number of rows and columns which you want to resize.
- Step 2: Now, simply drag the borders of the columns and rows.
- Step 3: You will see a blue line moving while dragging the borders. Stop once you have reached the required size and remove the selection.
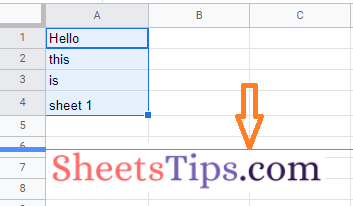
Now you will see the multiple rows and columns being resized.
- How to Sort by Color in Google Sheets: Multiple Color Sort/Filter by Color
- How to Insert a Pivot Table in Google Sheets? (Create/Edit/Customize Pivot Tables)
- How to Set Print Area in Google Sheets: Page Setup, Print Layout in Google Sheets
Resizing Rows and Columns Automatically in Google Sheets
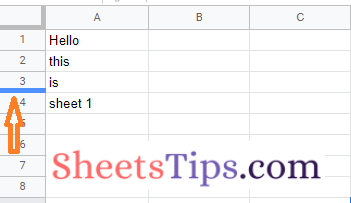
Google Sheets also enables you to resize the rows and columns automatically based on the size of the text. For example, if your text size is larger than that of the row and column, you can make the entire text visible by enabling the Google Sheets auto-resizing feature. The steps to automatically resize the rows and columns are given below:
- Step 1: Open the Google Spreadsheet where you want to resize the rows and columns.
- Step 2: Now paste the text inside the cell.
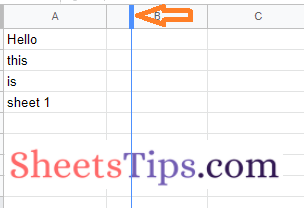
- Step 3: To resize the cell, move to the header of row and column.
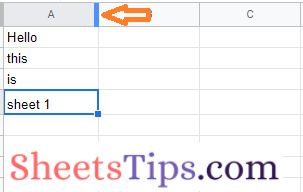
- Step 4: Double click the header, and this will resize the rows and columns.
Using Resize Row or Column Tool in Google Sheets
We can also resize the rows and columns in Google Sheets with the help of Resize rows and columns tool. The steps to get this done are given below:
- Step 1: Open the Spreadsheet where you want to resize the rows and columns.
- Step 2: Simply click on the row or column which you want to resize.
- Step 3: Now, right-click anywhere on the Google Sheet, which will open the sub-menu.
- Step 4: Then click on the “Resize the row” from the drop-down menu.

- Step 5: Now, the Resize box will open on the screen. Here you will have two options – Specify Row Height and Fit to Data.
- Step 6: Move to the “Specify Row Height” section and enter the Row Height.
- Step 7: Click on the “Ok” button, and this will resize the row height.
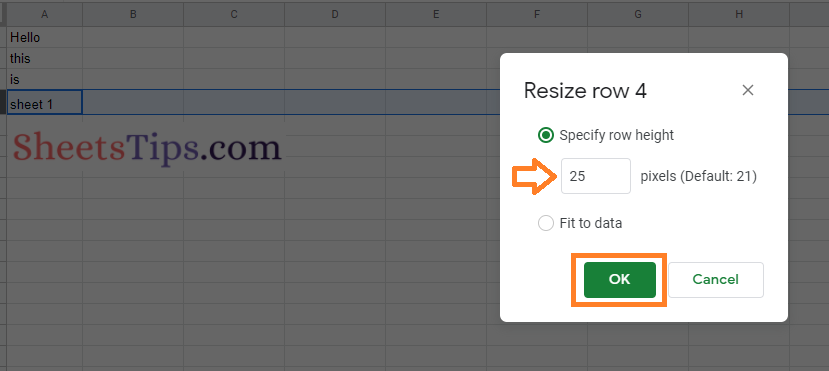
If you select Fit to Data, the row or columns will be resized based on the text length that you have entered in your cell.