Google Sheets Named Versions is one of the best features which helps us to name the edit history while working. For example, let us consider you are writing a story in Google Sheets. So the first step is to write a draft, then submit it for review and then move the draft to publish. Thus here we have 3 cycles of versions to complete a story and we can name these edit history cycles using Named Versions in Google Sheets.
In this article, let us understand everything about Google Sheets version history with the G-Sheet tips provided on this page. Read on to find more.
Table of Contents |
How to Create Named Versions in Google Sheets?
Follow the steps as given below to create a named version in Google Sheets:
- Step 1: Open a Google Spreadsheet which is edited multiple times.
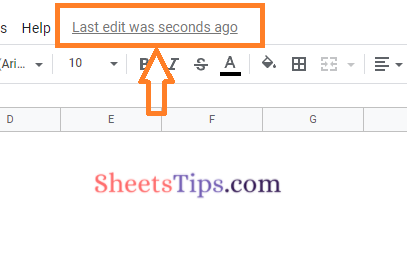
- Step 2: Now simply click on the “Edit History” or use the keyboard shortcut “Ctrl + Alt + Shift + H” to open the edit history of the Google Sheets.
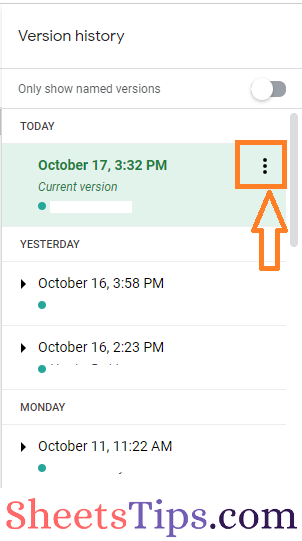
- Step 3: Here a window will open on the screen as shown below. Now click on the “More Actions” icon (3 dots …).
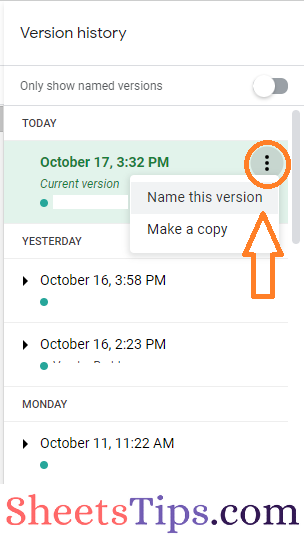
- Step 4: Now you will be given two options – Name this version and Make a copy. Choose Name this version from the drop down menu.
- Step 5: Just enter the name your want to give to that particular version. Once the name is given, press the “Enter” button. That’s it, you have named a version in Google Sheets.
- How to Create Named Ranges in Google Sheets (Static & Dynamic)
- How To Add, Edit, View, Filter And Delete Comments in Google Sheets?
- Calendar Template in Google Sheets: Create or Download Yearly/Monthly Calendar
How to Rename the Named Versions in Google Sheets?
Follow the steps as given below to rename the named versions in Google Sheets:
- Step 1: Open the Google Spreadsheet where you want to rename the named versions.
- Step 2: Now click on the “Edit History” or use the keyboard shortcut “Ctrl + Alt + Shift + H”.
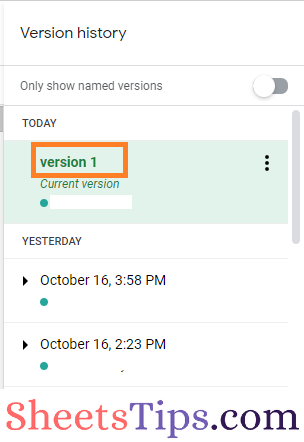
- Step 3: Here the Version history window will open the screen and this window displays the list of versions in Google Sheets. Now choose the Version history which you want to rename.
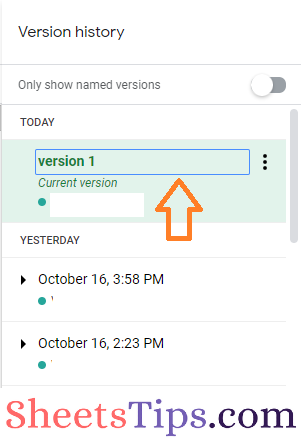
- Step 4: Double click the version name which you want to rename.
- Step 5: Now rename the version history and press the “Enter” button. This will rename the earlier named versions.
How to Show Only Named Versions in Google Sheets?
Google Sheets also allows the user to view only named versions. This feature will serve as a great help since there will be a various number of versions and we can view only the important versions to know what exactly has been changed.
The steps to view or show only named versions in Google Sheets are given below:
- Step 1: Open the Google Spreadsheet where you want to view only named versions.
- Step 2: Now click on the Edit History. Alternatively, you can simply use the keyboard shortcut Ctrl + Alt + Shift + H to access the edit history in Google Spreadsheet.
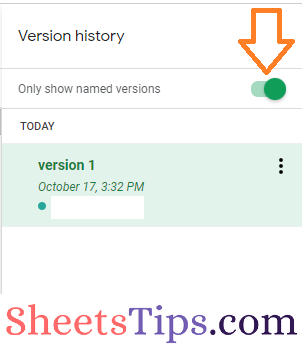
- Step 3: Here under the “Version History” tab, you will see an option named “Only show named versions“.
- Step 4: Just check this option as shown in the image given below.
- Step 5: Now Google Spreadsheet will start showing only the named versions excluding other unnamed versions in Google Sheets.